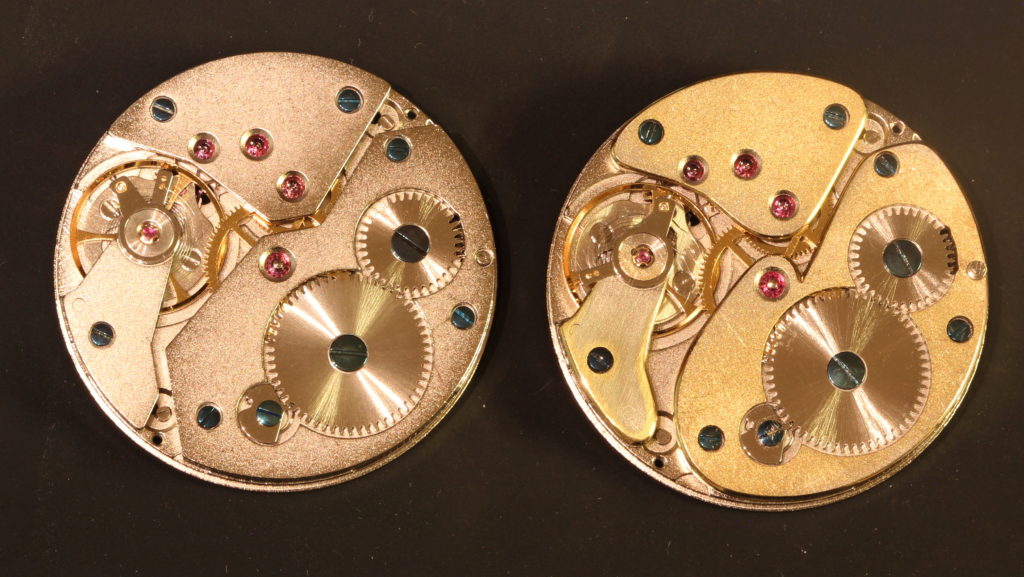
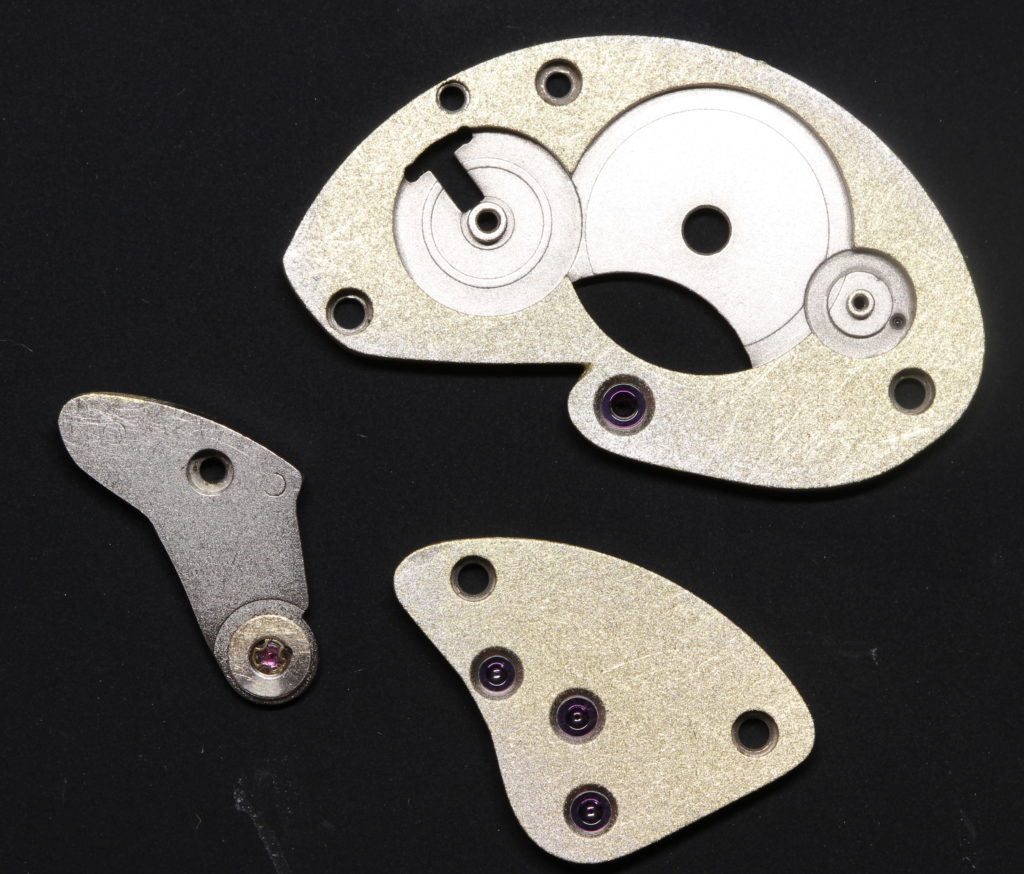
This project was meant to see how much I could improve the looks of an ETA 6498 working exclusively by hand. I started with an undecorated 6498 clone and went through the following steps, which I will detail below:
- Redesign of the bridges’ shapes, rounding most and creating an internal angle
- Straight graining of the flanks
- Frosting of the top of the barrel and train bridges
- Straight graining (satin) of the balance cock
- Beveling of all the bridges
- Polishing of the bevels
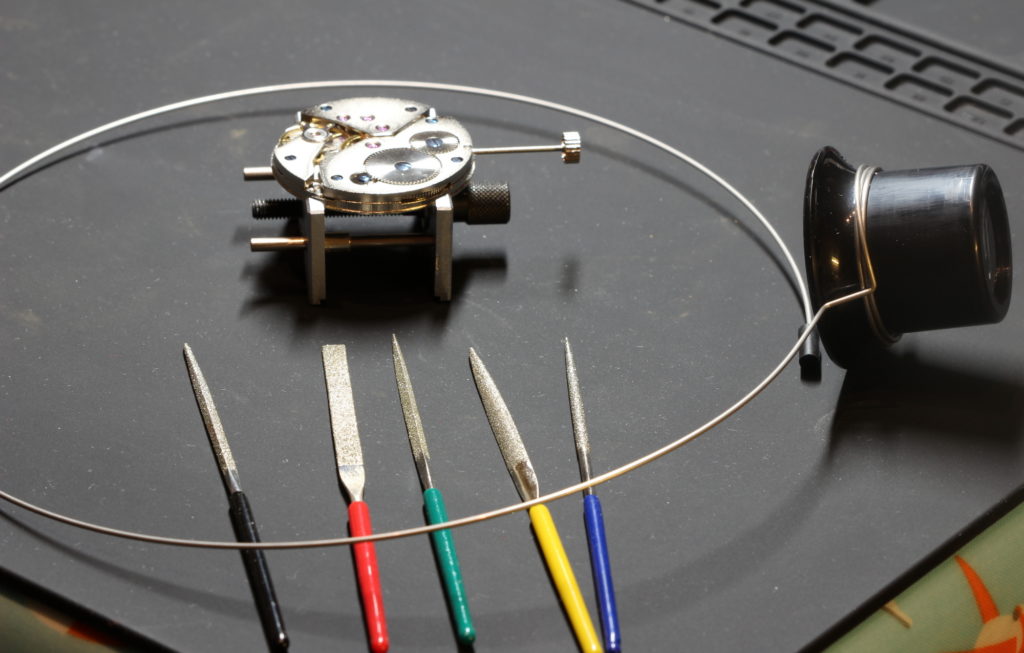
The bridges of the 6498 are extremely angular and not particularly good looking. I therefore decided to smooth most angles except one where I decided to create an internal angle. I did this using 3 small files: one rectangular, one rounded, and one triangular. At this point, I left the corners straight without creating bevels.

To remove the traces of filing and improve the aesthetics, I then used a series of sand papers (grit 240, 600, 1600) on the flanks until they had an almost satin appearance.
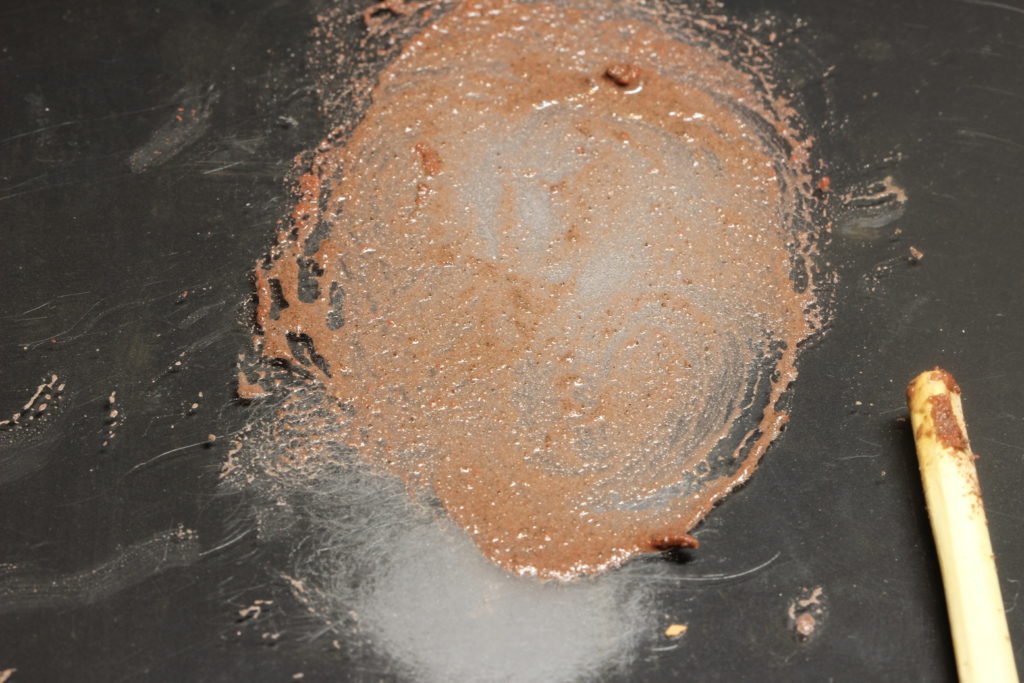
I then moved on to the top of the bridges. I decided to give the barrel and train bridges a frosted appearance and the balance cock a satin look. I used an aluminium oxide 80 grit compound mixed in with a few drops of water on a plexiglass surface and rubbed the bridges on it holding them upside down. I used a circular motion to avoid leaving lines.

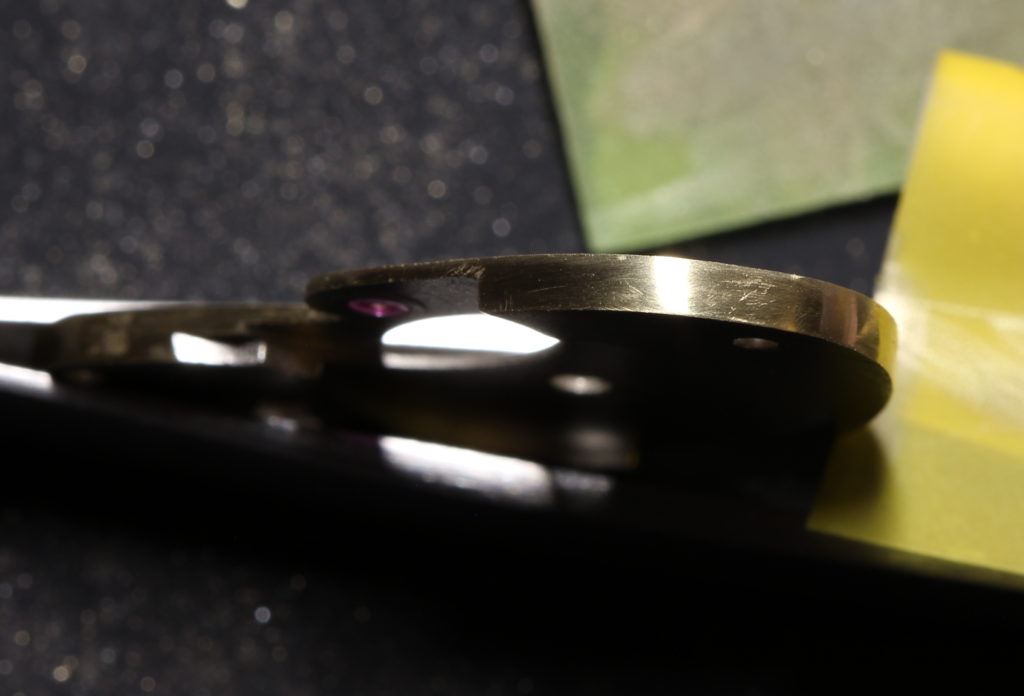
Once the top surfaces where ready, I used a set of files to create bevels on all top corners. Although I used a different set of files as earlier (because I bought them in the meantime), I used the 3 same shapes: rectangular, rounded, triangular. This set is from Vallorbe and is a cut grade 2 (quite coarse).
The bevels had visible filing marks, which is normal at this point. I then used a series of sand papers to get the surface as smooth as possible. I used both regular sanding paper and lapping paper, but used the latter as sanding paper, not sticking it to anything. Here are the grits I went through:
- 240
- 400
- 1000
- 1600 (12 microns)
- 4500 (5 microns)
- 8000 (3 microns)

To give a final polish to the surface, I used Bergeon polishing powder on a wooden stick.

