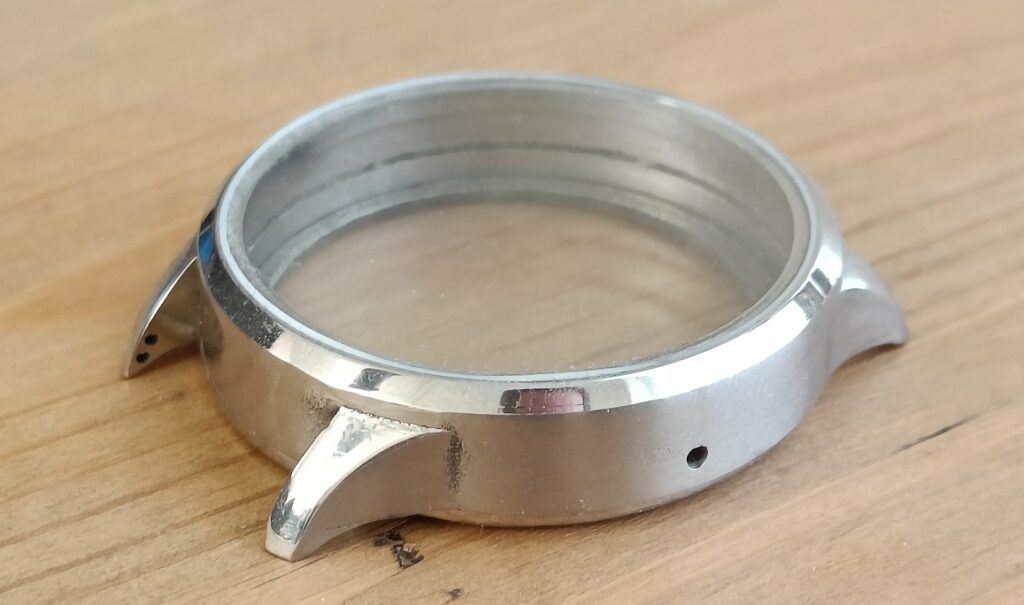
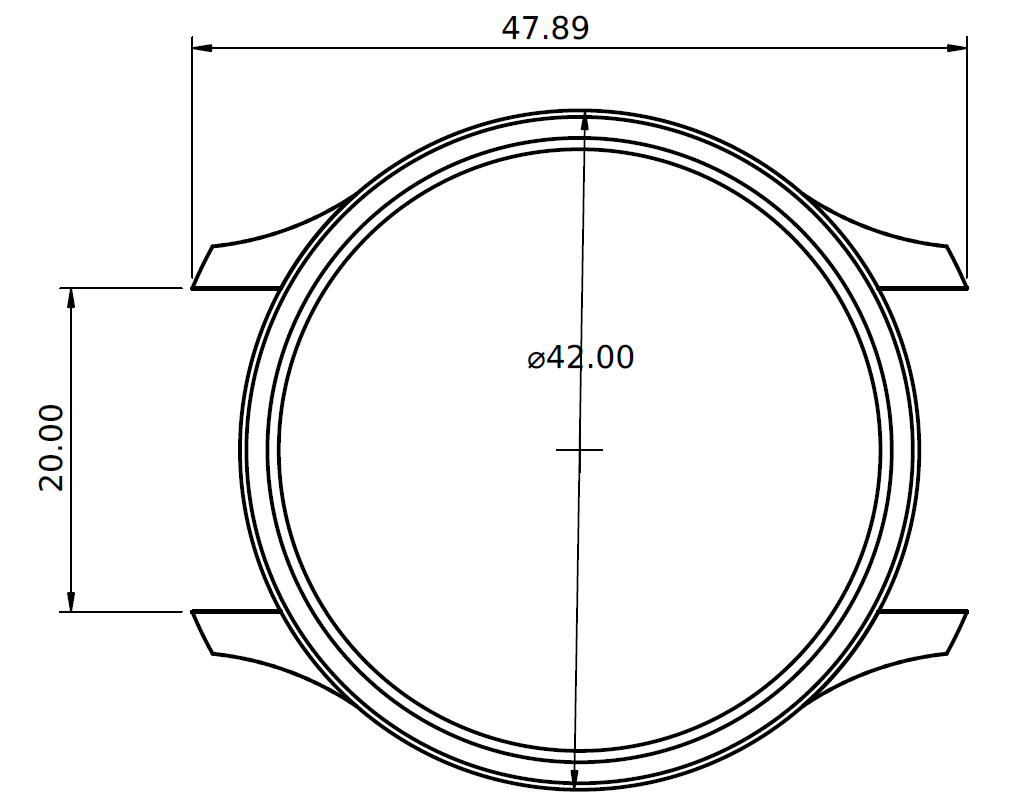
There are many parameters that will constrain the case shape and size. The first is the movement, in this case an ETA 6498. It is 36.5mm in diameter except for a lip that is 37.2mm. With such a movement, it is almost impossible to have a case smaller than 40.5mm and with the constraints I had the case ended up being 42mm.
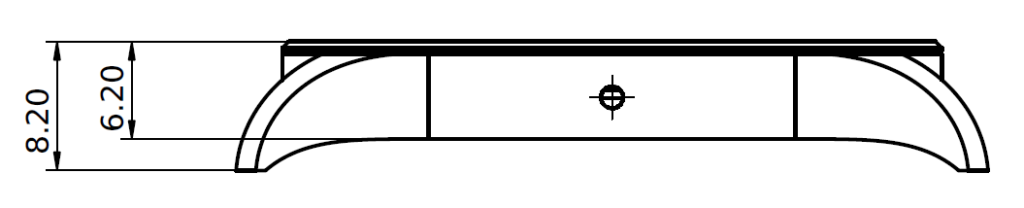
The other constraint linked to the movement is the height of the stem from the base of the movement, which will determine the position of the hole for the stem and the position of the crown.
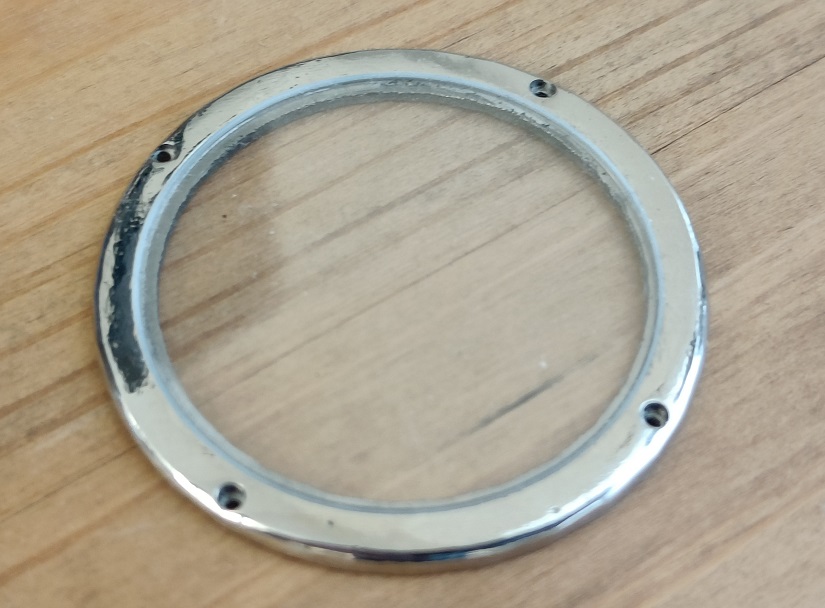
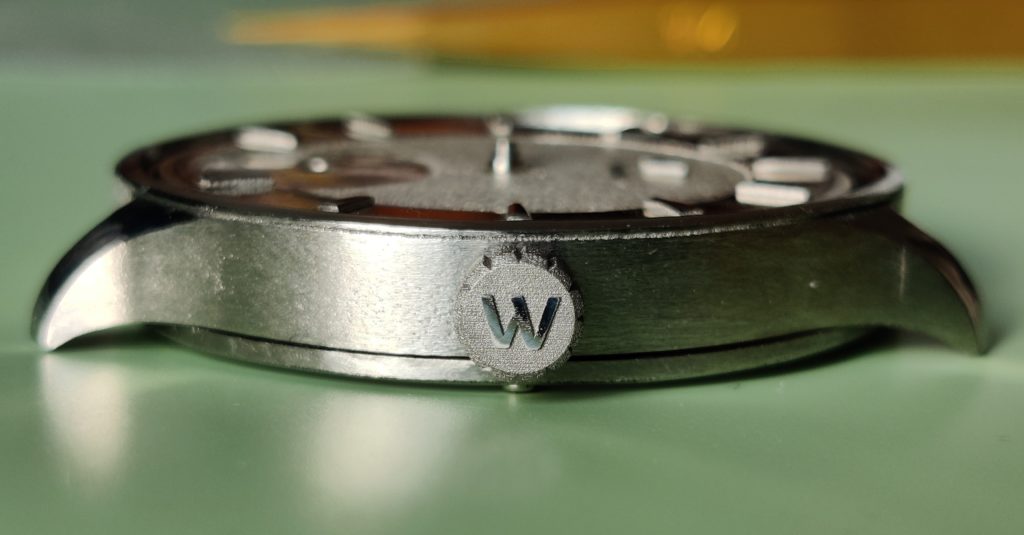
The next decision was about the glass/gasket combination where there are different types of gaskets. The glass is pressure fitted into the gasket and both only stay in place because of friction, which makes the precision extremely important. I decided to have a 38mm glass, which is 1mm thick, which means it would partly sit on the case at the base of the bezel and partly on the dial (37.2mm) to hold it in place.
The next big issue was how to attach the caseback to the case. I tried to 3D print a thread on both the case and caseback, but the level of precision of both the DMLS (fusion) and binder jetting technologies was not sufficient for this and the thread was also too fragile. The backup solution was to use screws and to create the thread in the case with a manual tap. While that was a good option in theory, I broke several taps without managing to create a clean thread and had to super-glue the screws in place.
Once all the technical elements were solved, the point that remained was the finishing of the case as the 3D printed parts have a very rough surface.
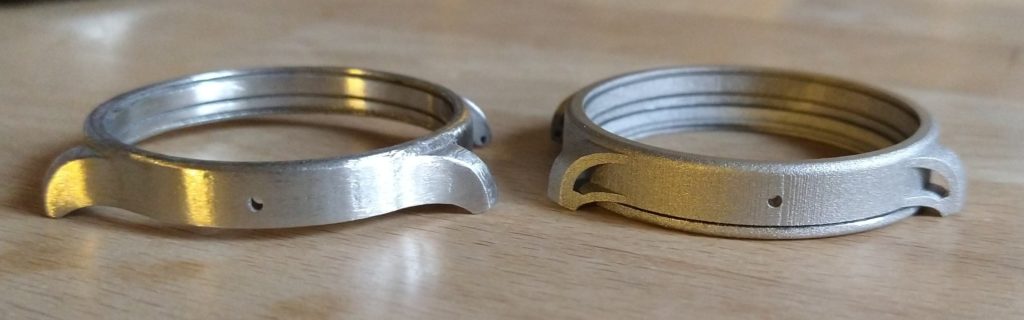
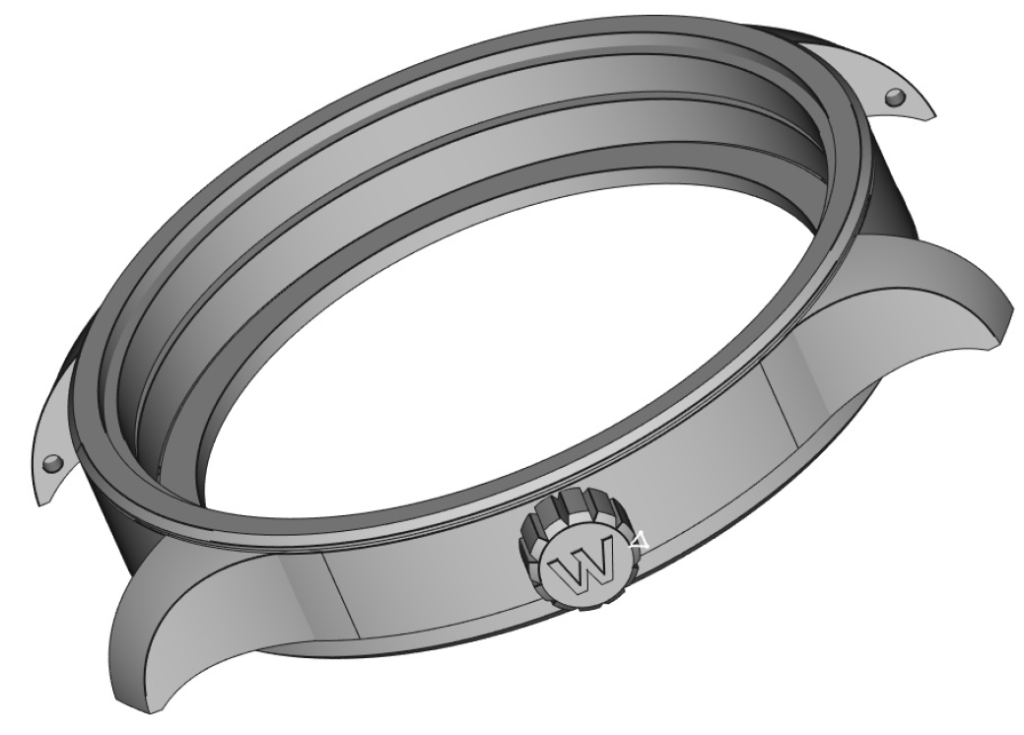
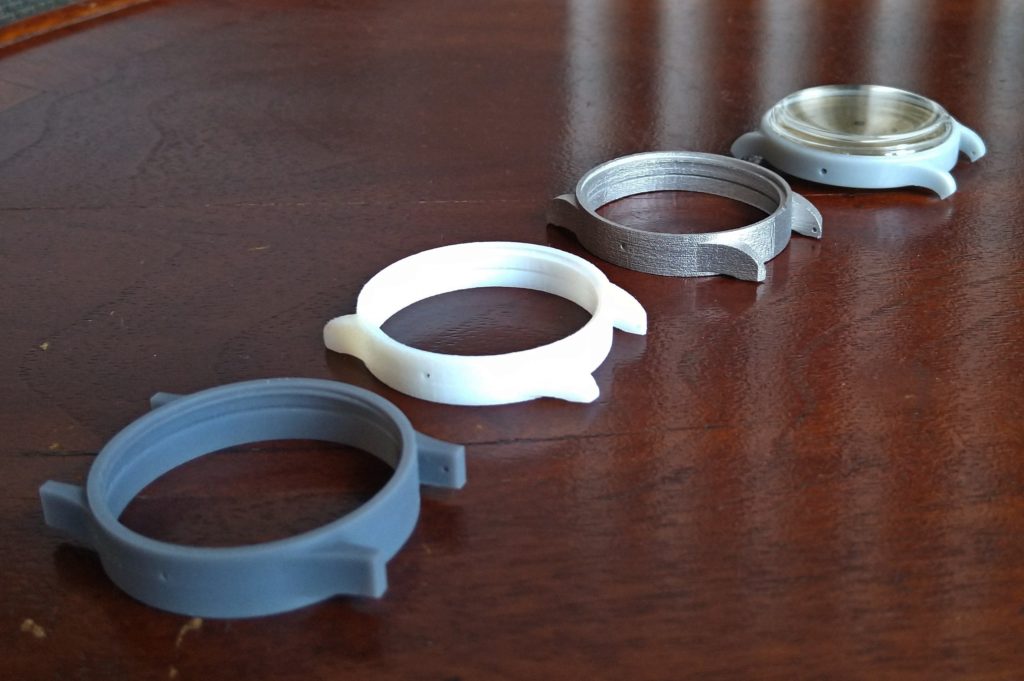
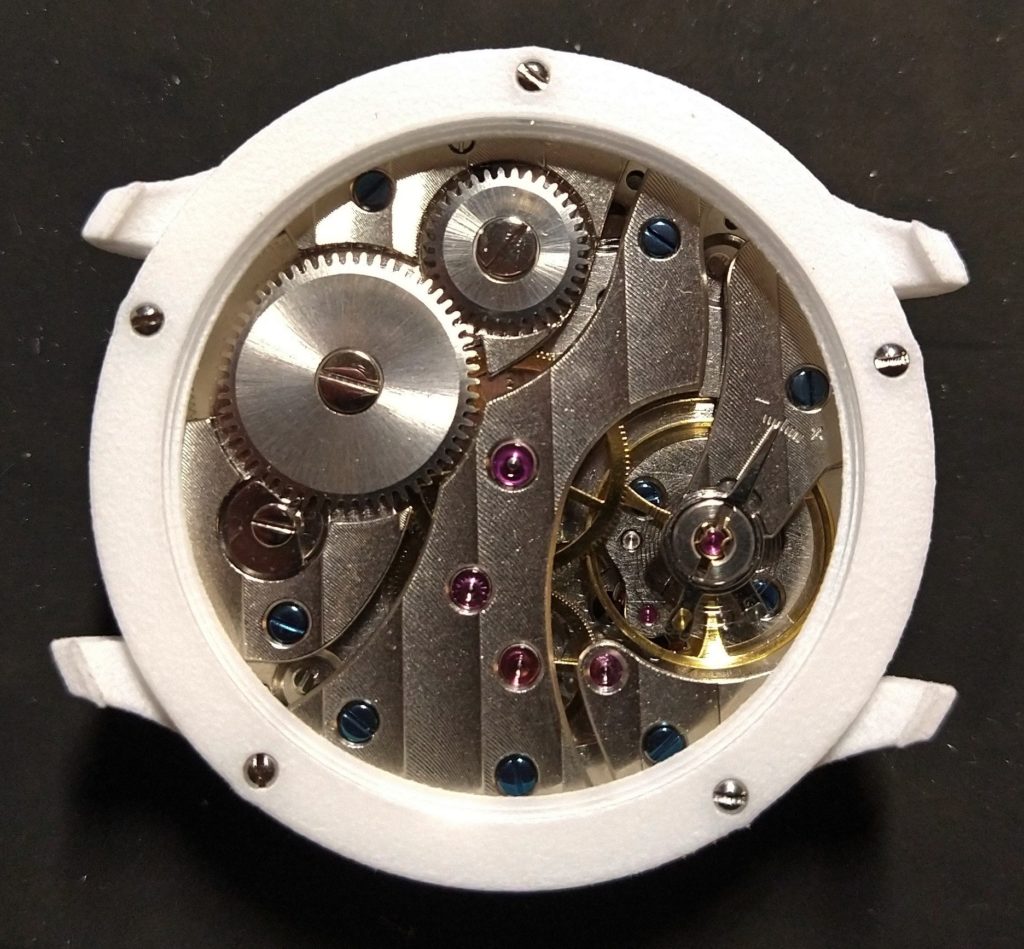
Below is the final case and case back. They are far from perfect, but a decent first attempt and I have learnt a lot in the process.
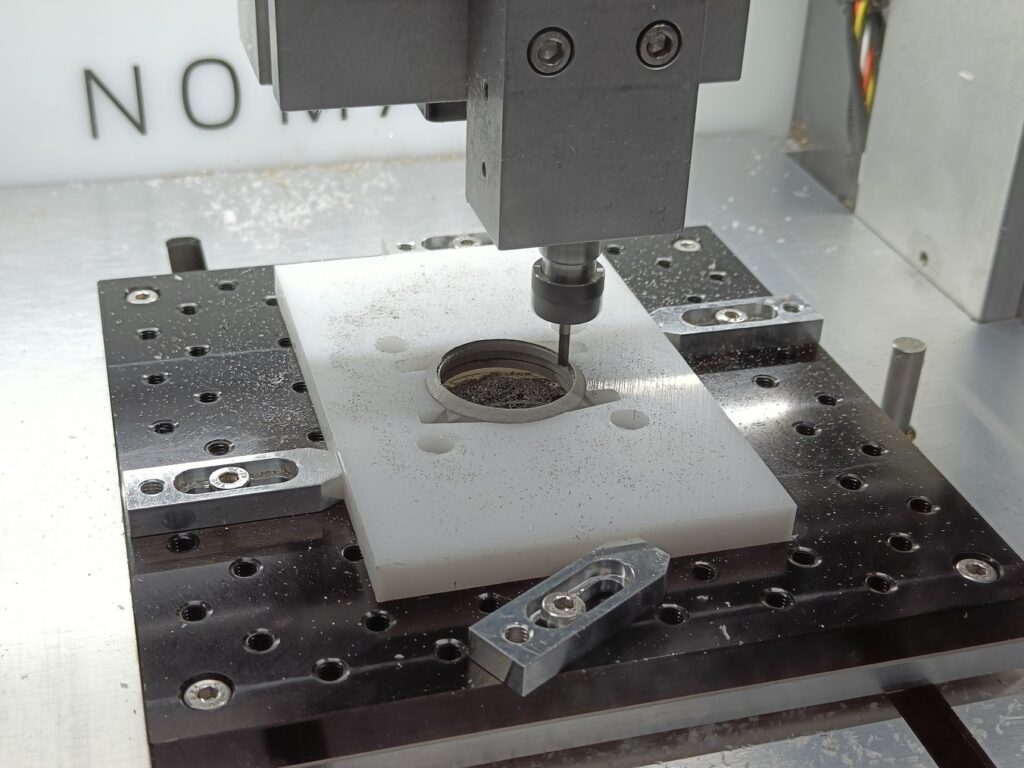
For my next attempt, I used my CNC machine to cut the different recesses to the exact dimensions so that the glasses could easily be friction fit. That required making the holes slightly undersized for the 3D printing to be able to remove material afterwards.