The dial creation process was difficult and had many dead ends. First, there are a number of components/layers:
- base dial
- textures
- printing or engraving
- Indices and logo
I knew I wanted to have a recessed seconds sub-dial and a recessed central area, each with a different texture. I will start by describing my first attempt using 3D printing and pad printing, then will show another version using a CNC machine, engraving and engraver’s wax.
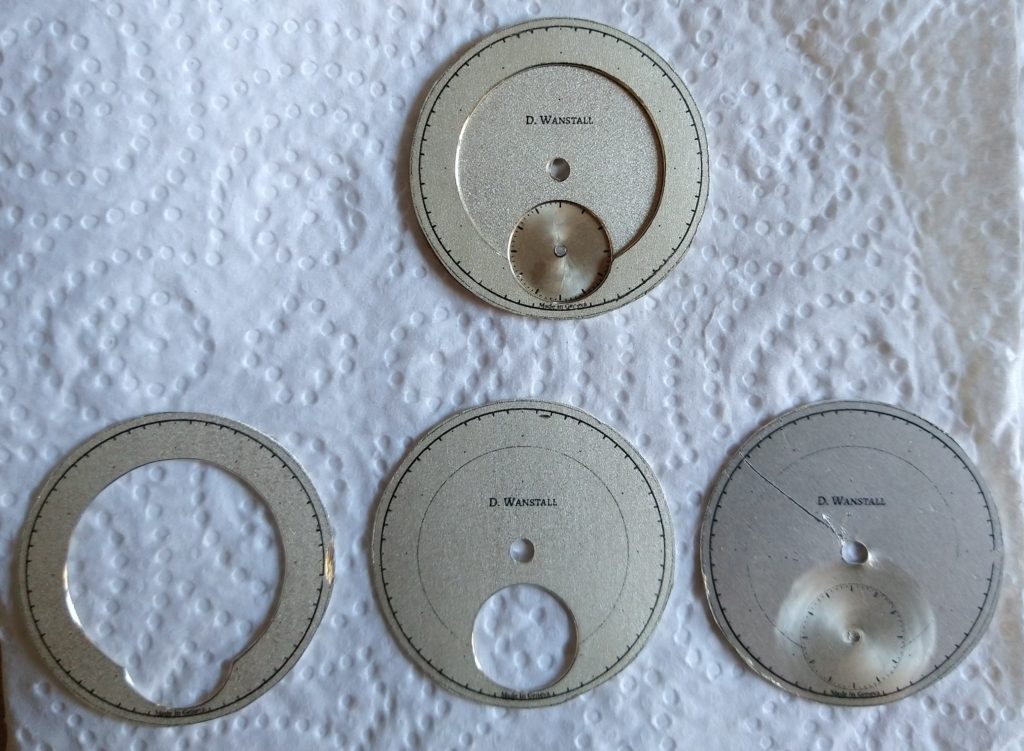
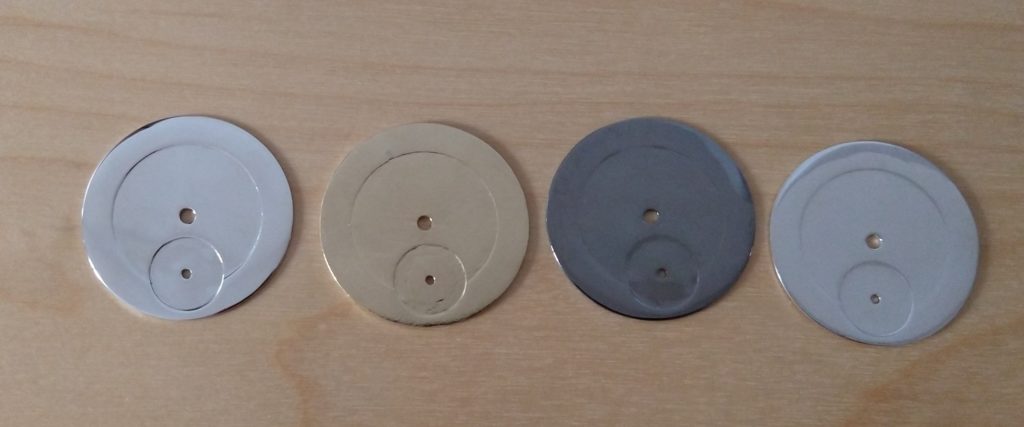
The first task was to create the base layer, which I first tried doing by gluing 3 0.3mm sheets of metal together. The problem with that system was the lack of precision. I then tried to have 3 different textures on a single flat dial, but again it was difficult to achieve the right level of precision. In the end, I designed the base dial in a modelling software and had it 3D printed in brass, plated brass and silver.
The next step was to add textures to the different parts of the dial. For that I used sticky paper that I cut to the correct size to create masks so that I could protect parts of the dial while texturing others.
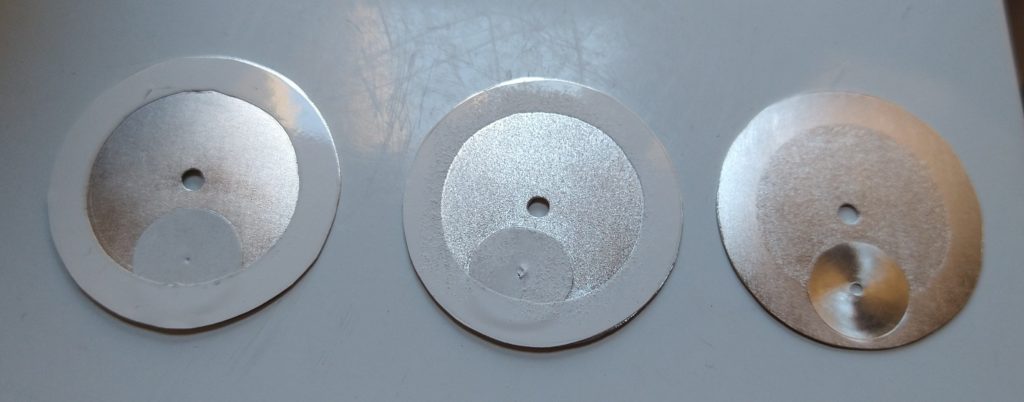
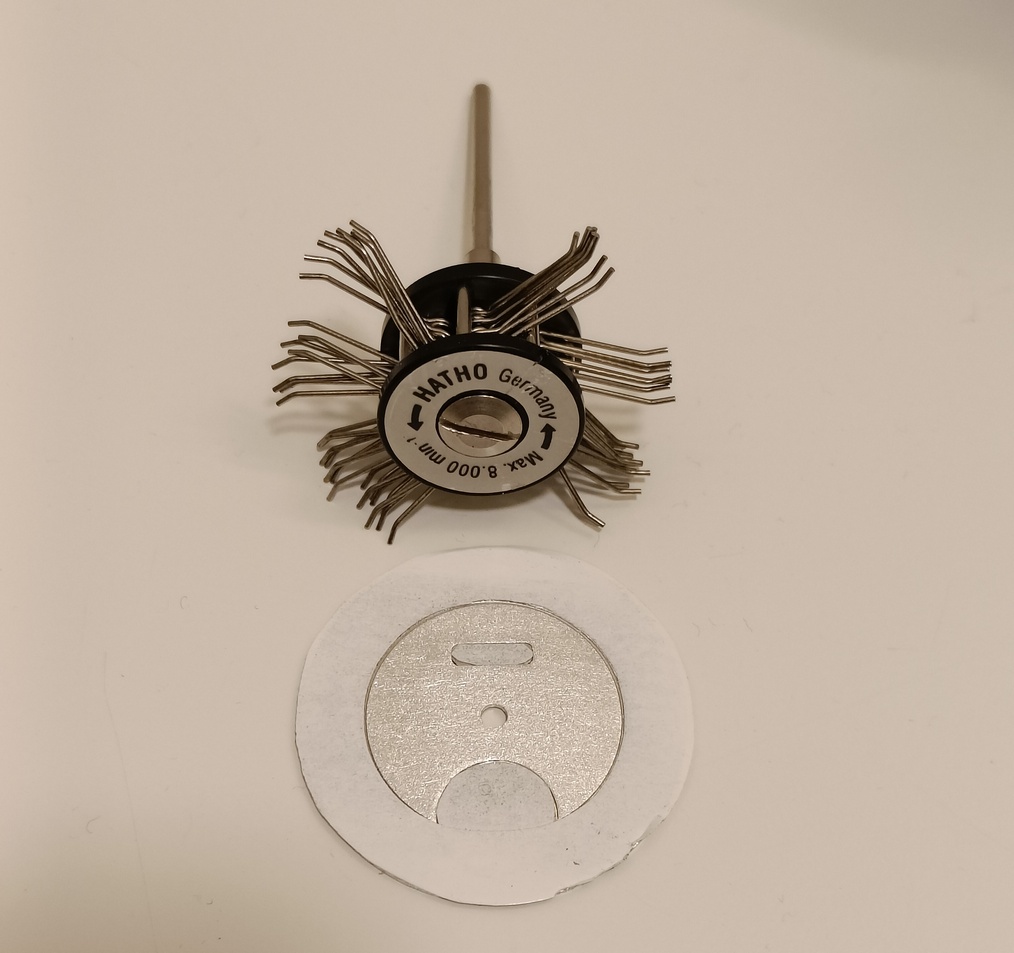
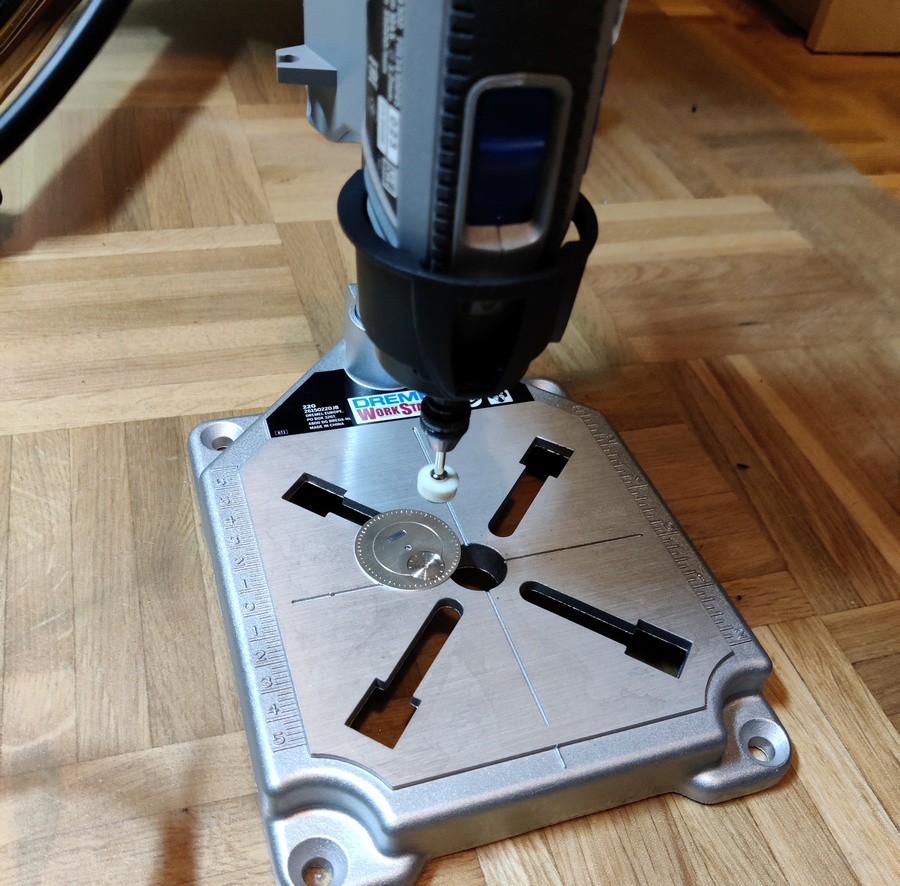
The sunray finish was produced with an abrasive wheel on a rotary tool with the dial on a turning table. The frosted finish at the centre of the dial was obtained with a 40mm texturing wheel with 0.30mm filaments. Finally the satin finish of the external ring was done with a 400 grit abrasive mesh on a rotary tool.
The following step was to print the design I had prepared as a vector image. I tried using film-free decal paper, but it was impossible to get the right level of precision and the process involves heating the dials, which gave them a yellow tinge. I therefore opted to had them professionally pad printed.
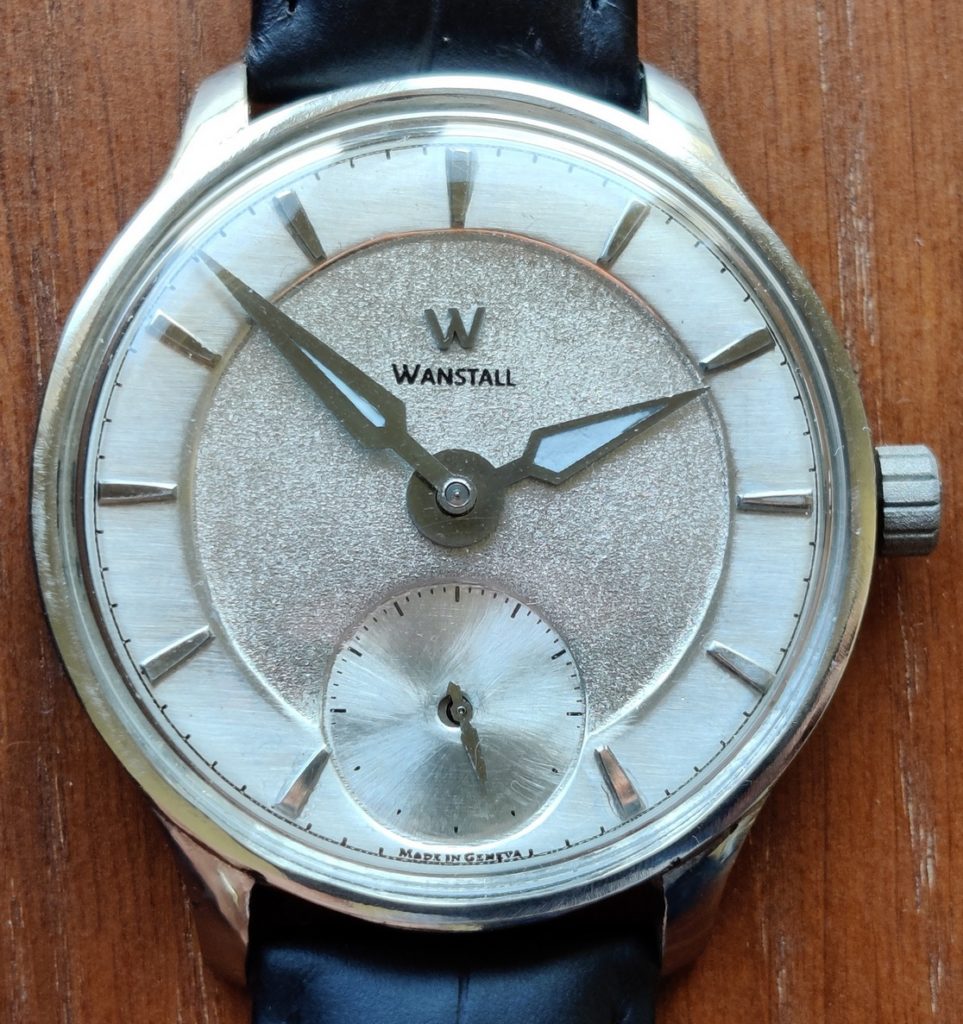
Finally, I created the indices and logo with my modelling software and had them 3D printed, after which I finished them manually.
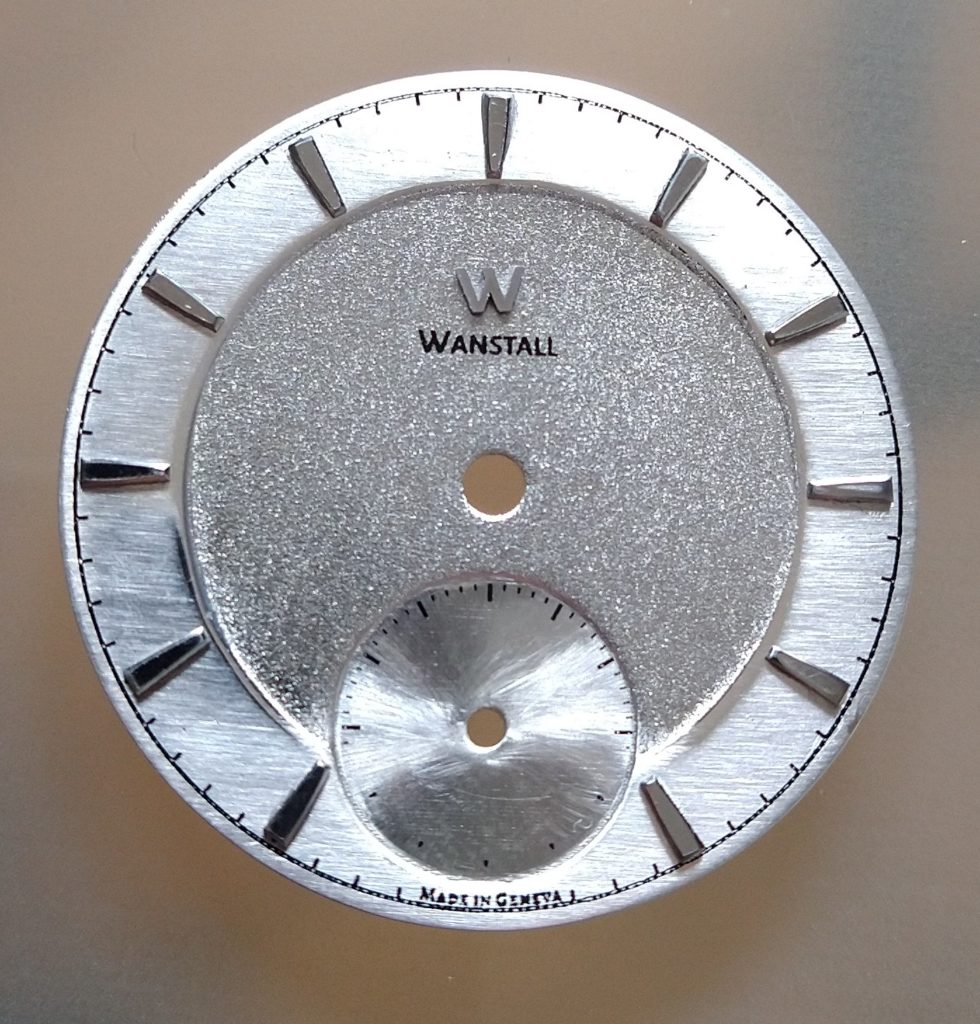
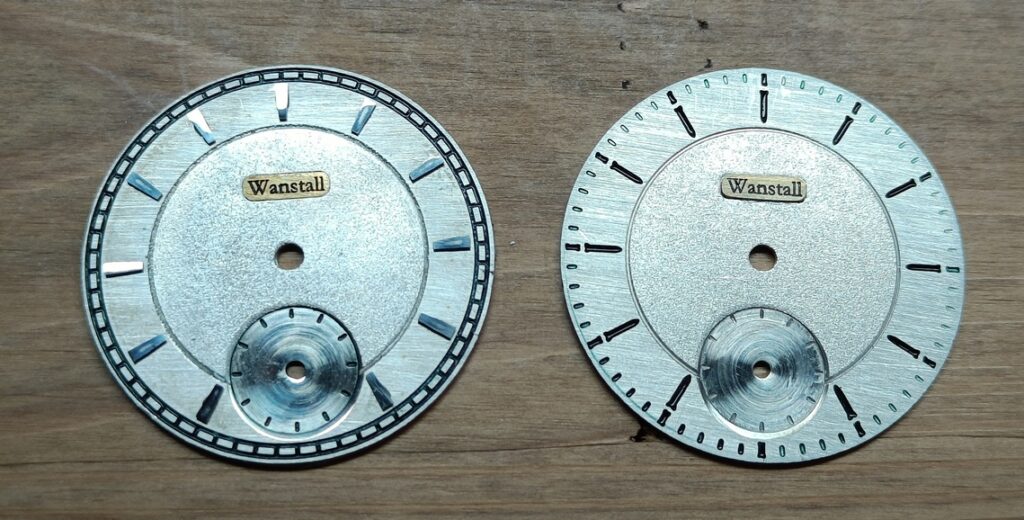
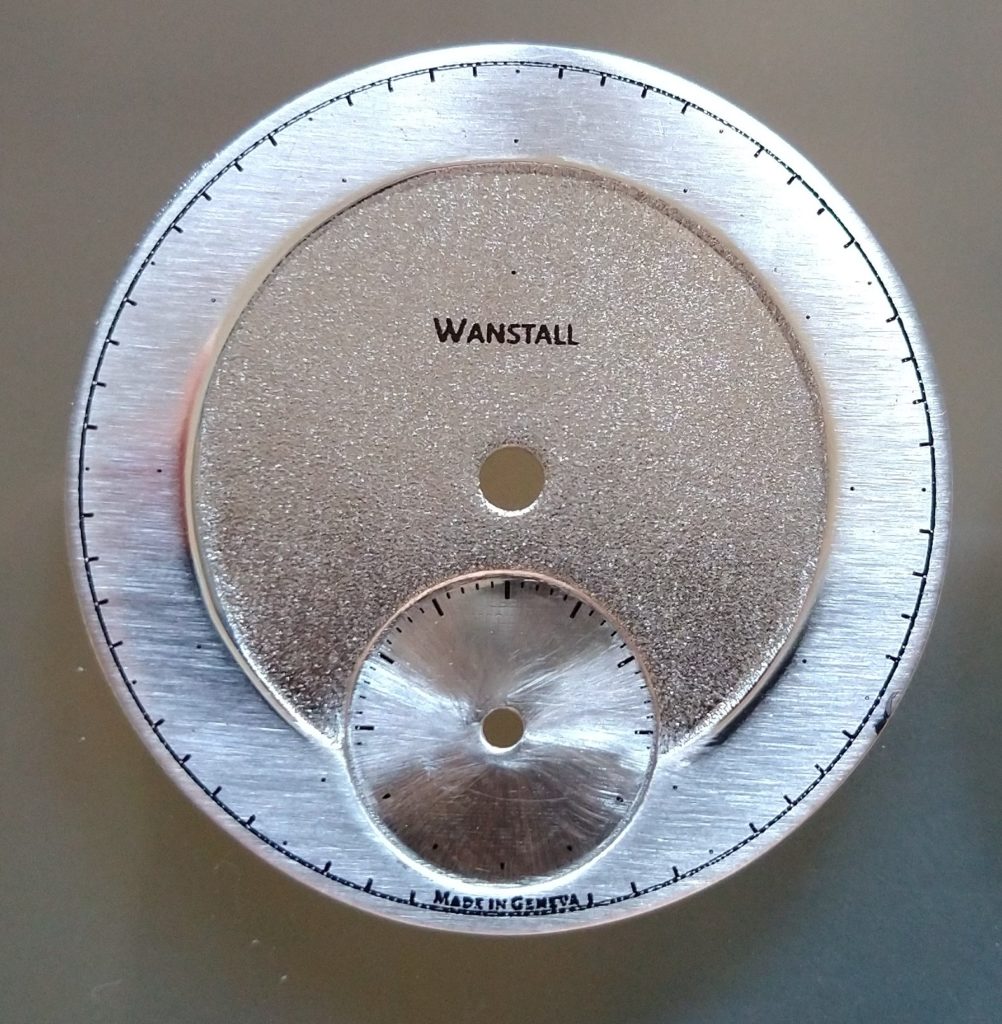
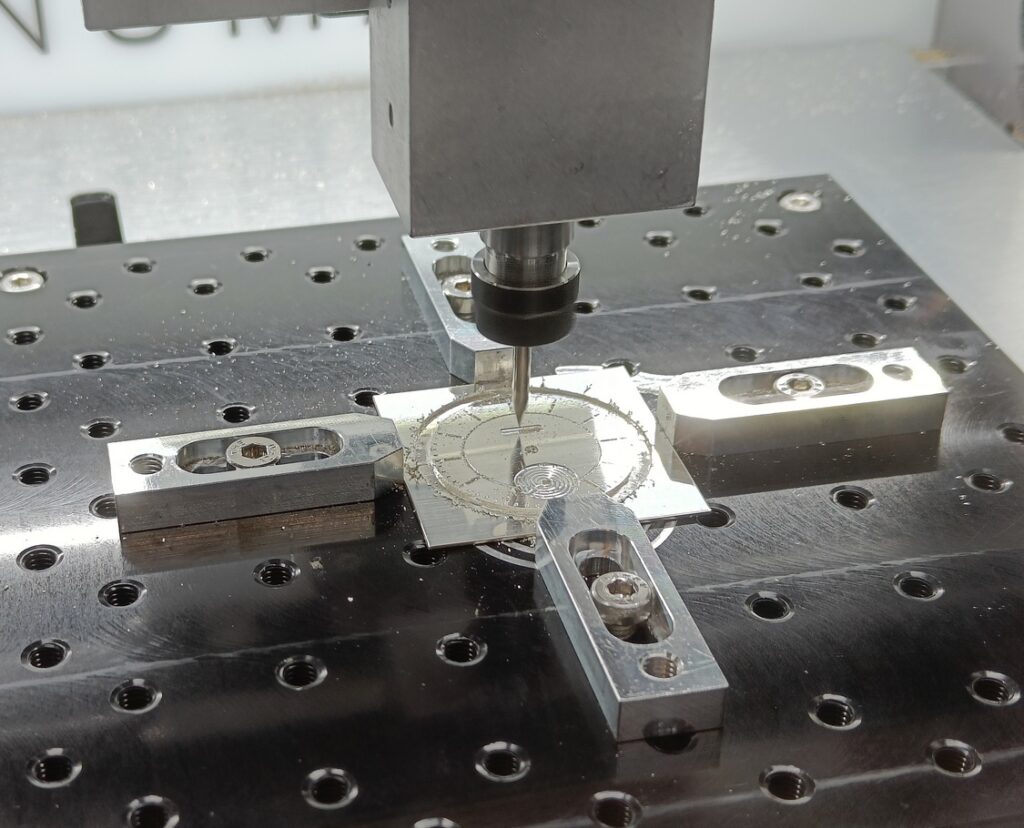
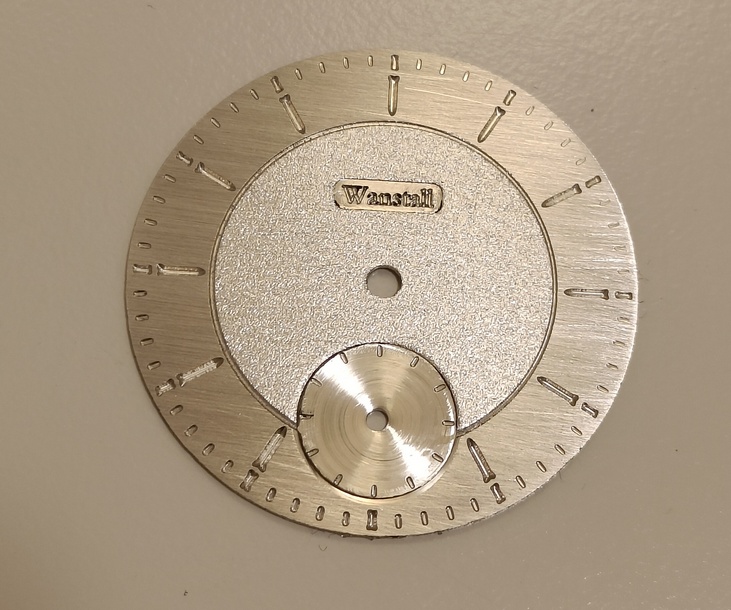
For another version, I used my CNC machine to cut the dial, subdials, and engrave all the elements that would otherwise have to be printed.
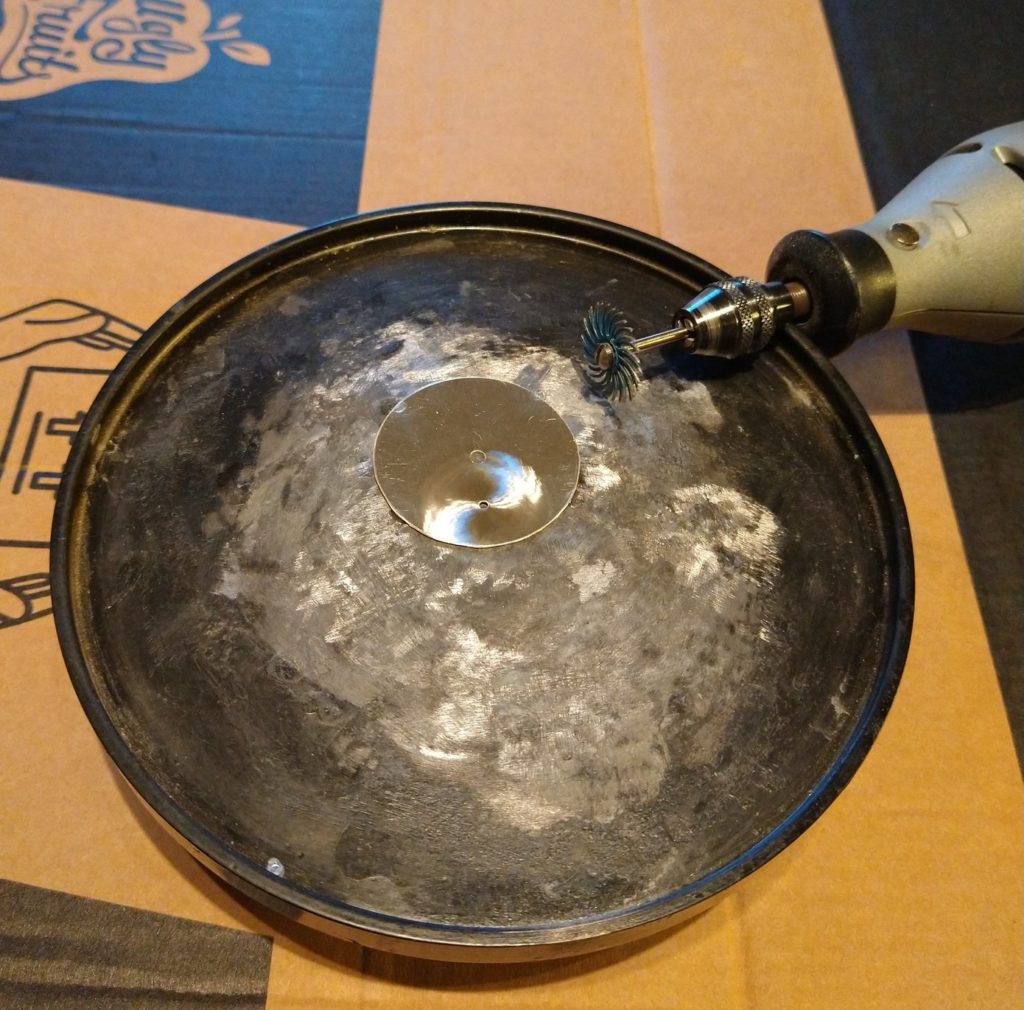
For the different textures, I used thick sticky paper to protect the parts that should not be textured and used my Dremel with either a texturing wheel or abrasive wheel to create different textures.
For the small seconds, instead of a sunray finish, I used a circular graining pattern.
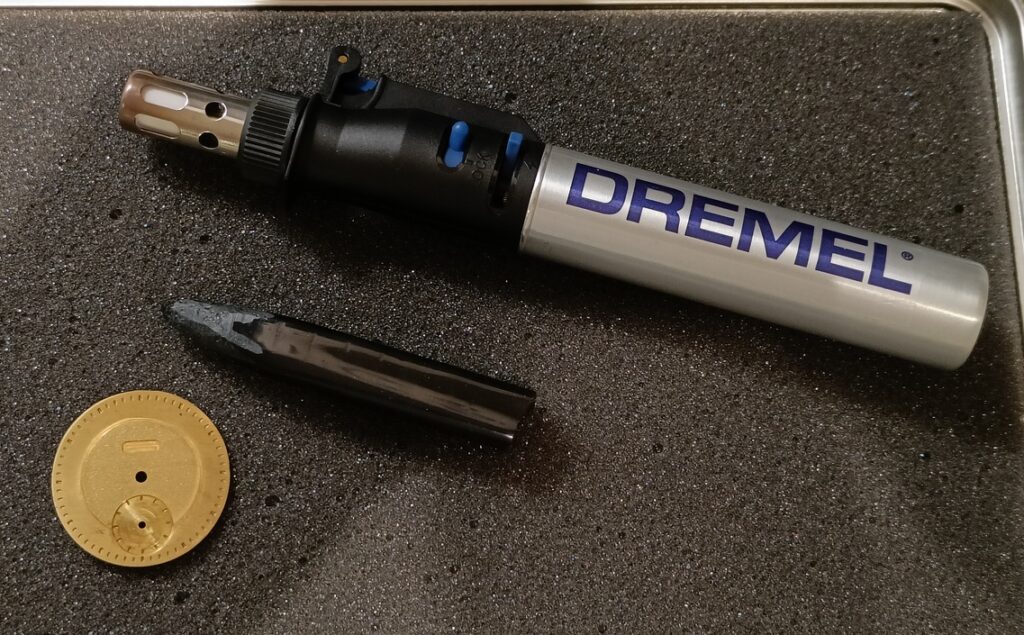
You can see below the material I used to apply the engraver’s wax: a Dremel torch and a bar of wax. I held the dial with pliers while heating it, then melted some wax on and immediately removed the surplus with some kitchen paper. Once I had finished, I used ear cleaning buds dipped in acetone to remove any wax that wasn’t in a recess (that process is more art than science).