The precision of 3D printing is not sufficient to print the threads of screw holes, especially the very small diameters used in watches. I will share below how I have created those threads and the issues I have encountered.
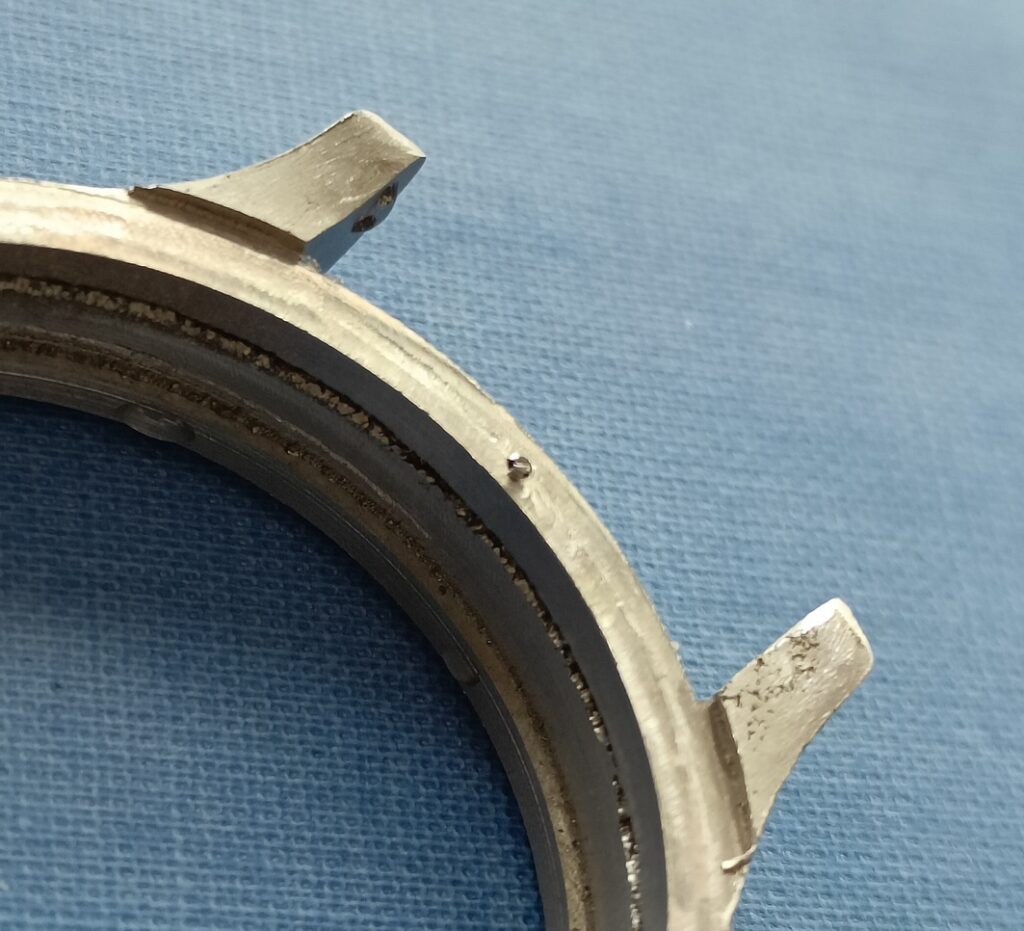
To attach the caseback to the case, I have decided to used 4 M1 screws (therefore 1mm in diameter). To achieve this, I have drilled 0.8mm holes that were 2mm deep. As a rule for small holes at least, the initial hole should be roughly 80% of the screw diameter.
I had initially used a T-shaped tap holder, but it was very difficult to hold it steadily and for holes that size it is not necessary to apply a lot of torque. I have therefore opted to use a simple hand vice instead with an M1 tap. I used some cutting oil for lubrication. For each full turn, I would turn back a quarter to a half turn to remove the cut material.

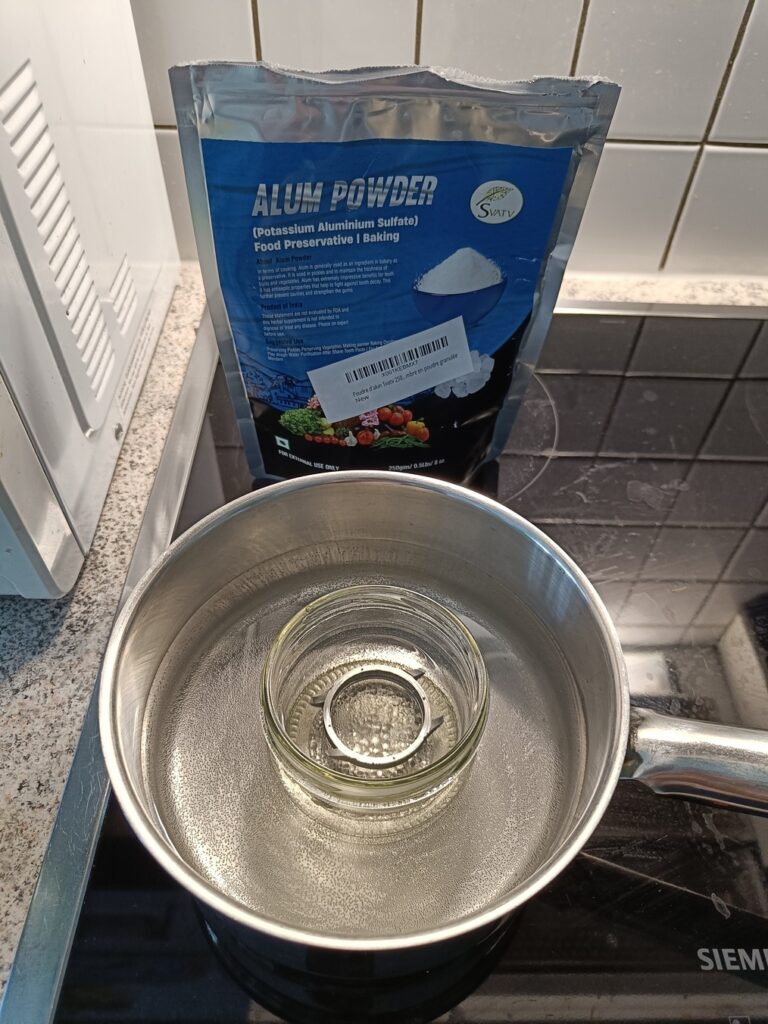
Despite these precautions, I broke a coupe of taps in the holes and after looking online, I found a solution (see video by JohnSL) using Alum powder. By gently heating the dissolved alum powder and letting the case with the broken tap soak in it, I managed to dissolve the tap in a few hours.