There are some webpages explaining how to print a dial on paper and then varnish it, but I wanted a more durable solution and I wanted to use metal as a base layer. The solution I found was decal paper, which lets you transfer an image printed with a laser printer onto metal without leaving any plastic film (depending on the type of decal paper you buy).
There are YouTube videos explaining the steps to follow to print on metal so I will not go into many details. I used the Sunnyscopa type A paper.
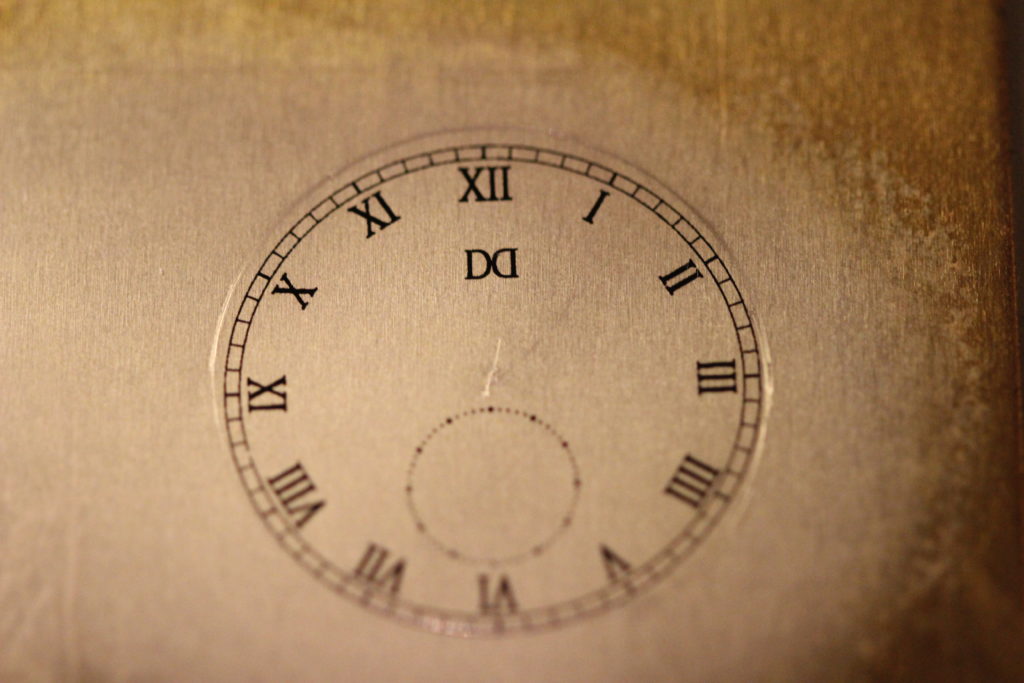
The first step was to create the image and to have a crisp result, I made sure the resolution of the image matched the resolution of my printer. My laser printer can print at 600 dpi, which is 23.62 dots per mm.
An important step to remember is to print the mirror image (horizontal flip) as it will go upside down on the metal.
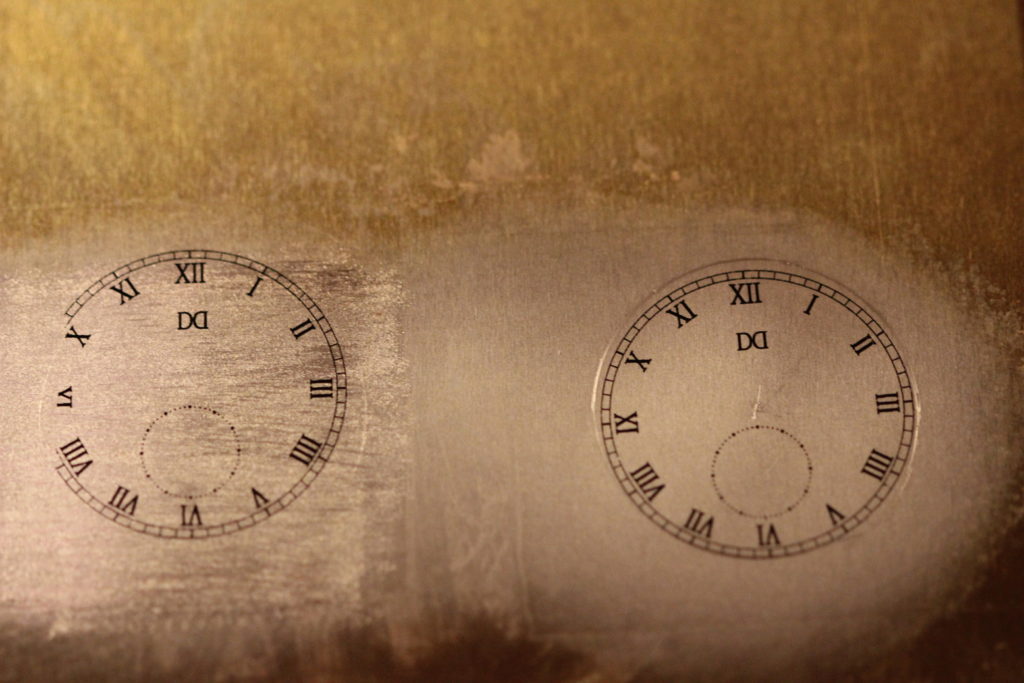
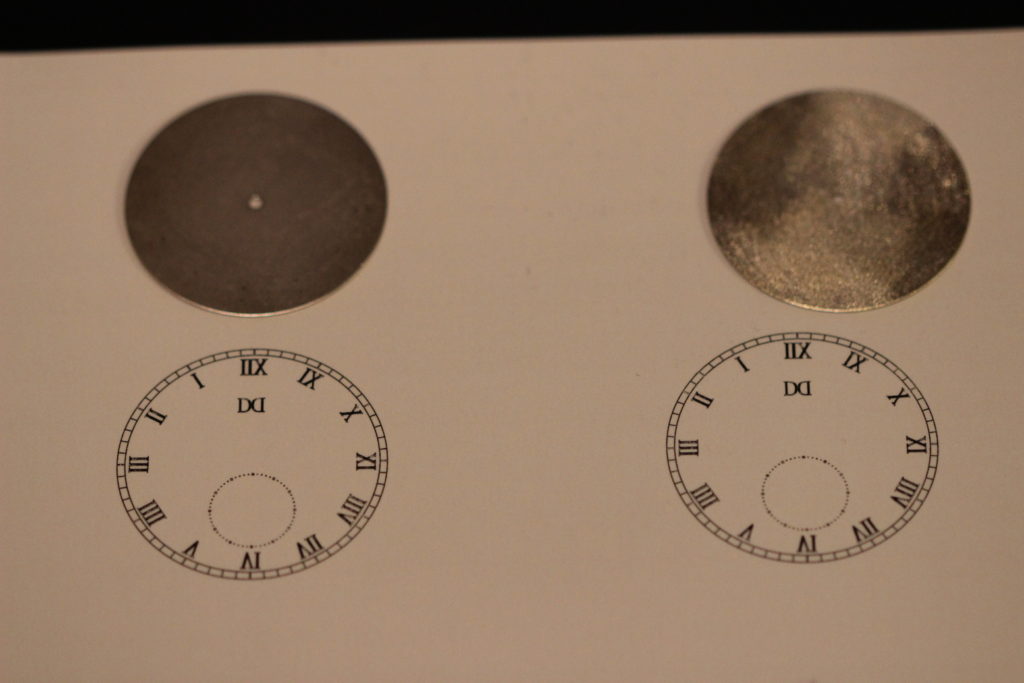
I made a few tests and can offer the following advice. If possible, print on a sheet of brass rather than a pre-cut dial as you want the paper to extend at least 1 cm beyond the surface to print. It is also better to have a rectangular rather than rounded piece of paper as the corners will stick better. If you print on an uneven surface (frosted/grained metal), apply more glue to avoid pockets of air between the paper and the metal surface.
Residual glue can be removed with alcohol (at least the version I used).