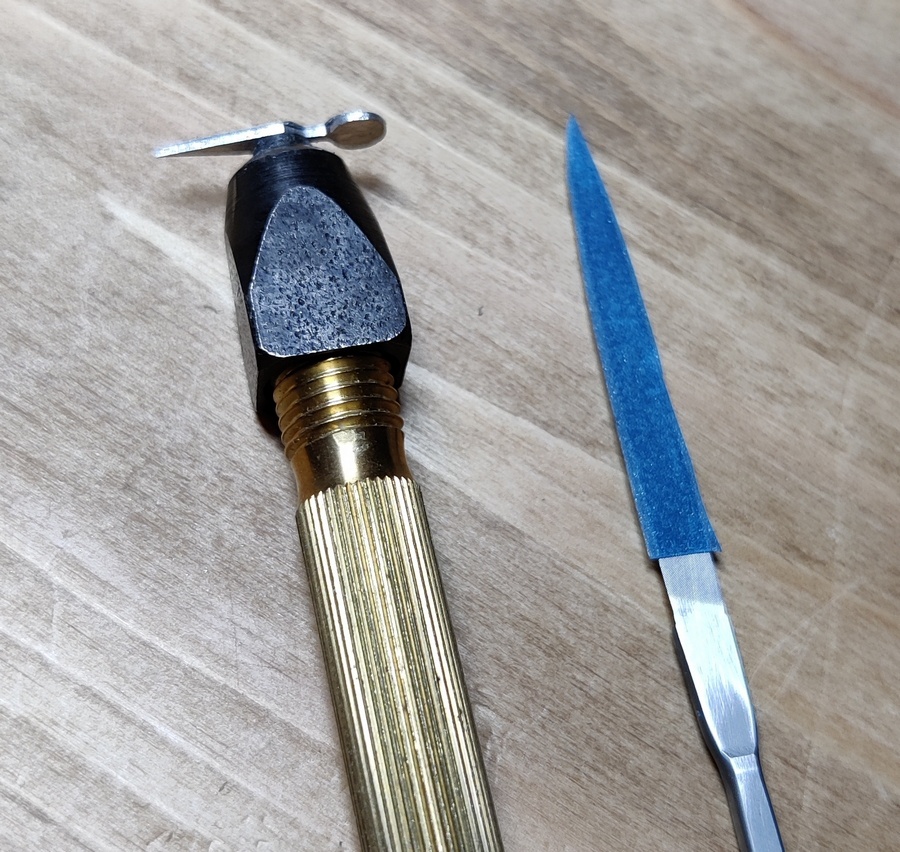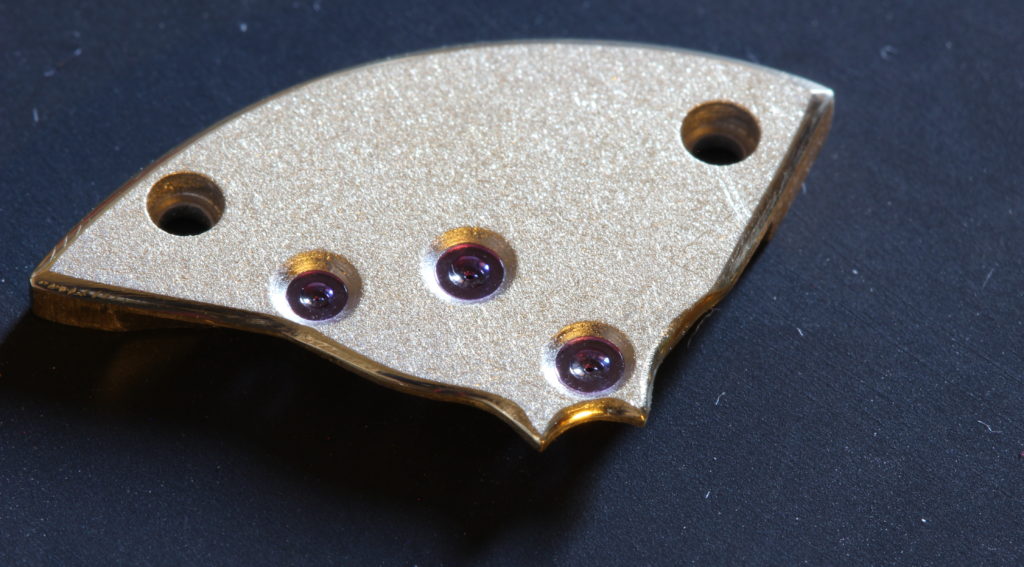
Beveling is one of the hallmarks of high-end watchmaking and it is a technique that requires no machinery and relatively inexpensive tools. To be done well, what is needed is practice and patience (I currently have neither in sufficient quantity, but I’m improving).
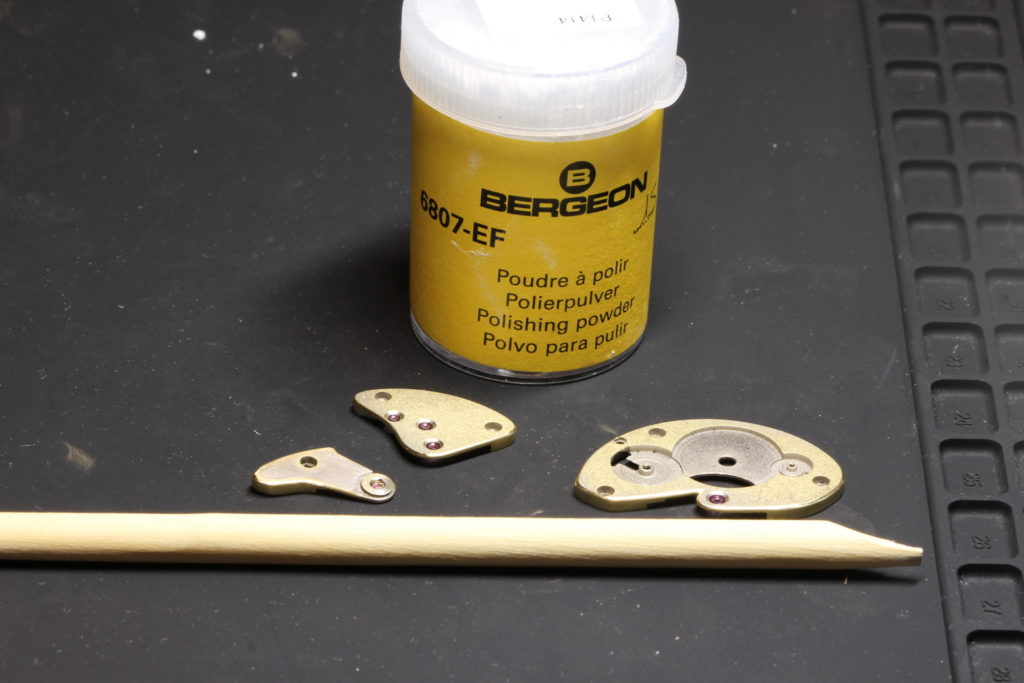
The tools required are a few files, different grits of sanding/lapping paper, polishing powder and peg wood.
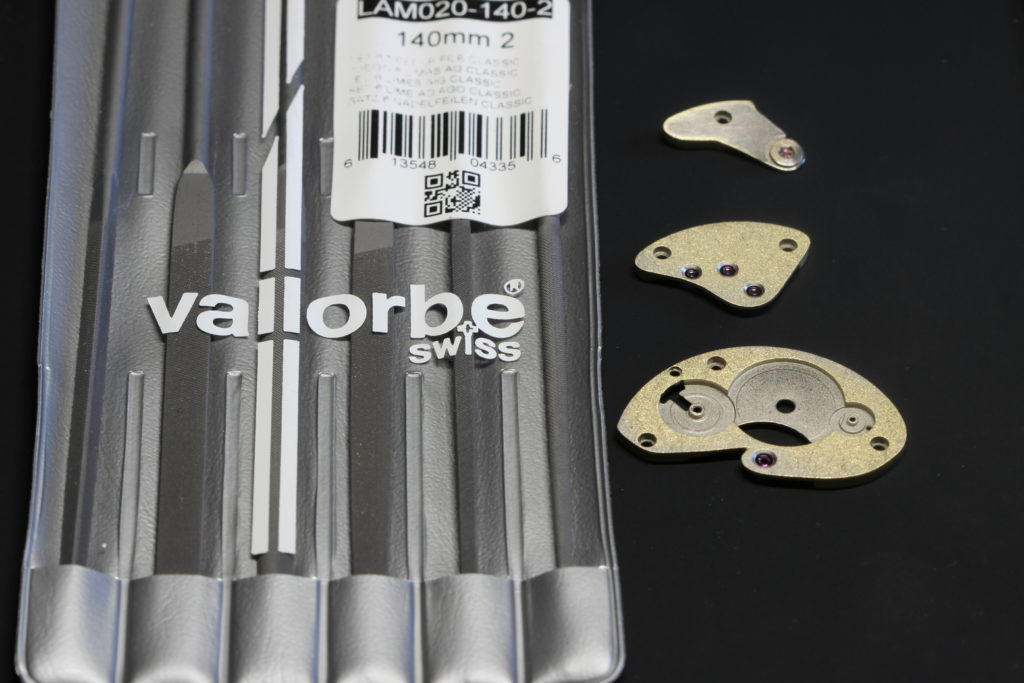
The bevels are created at a 45° angle with files with a rough cut. I use Vallorbe cut 2 to create the bevels. It is important at this point and at each further step to check that the bevels are uniform and that tool marks are minimal. Any imperfection left at one step will be very hard or sometimes impossible to correct further down the line.
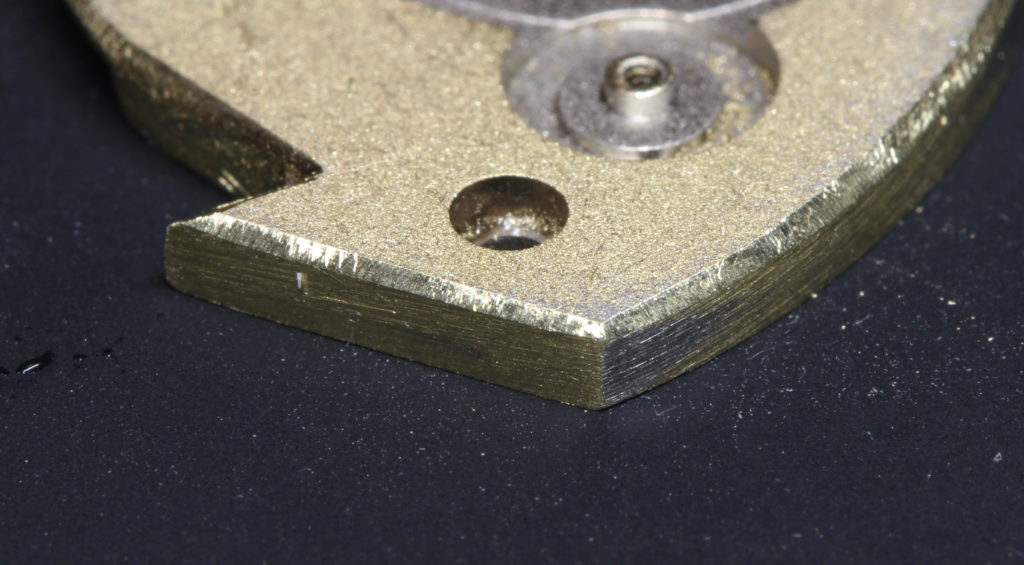
After the cut 2 file, I use a cut 6 or 8 to reduce the tooling marks.Depending on the part, I use a flat file, a rounded file (inside curves) or a pointy triangular file (inner angles). For inner angles, I use a scalpel to shape the inside of the angle as the files are too wide. This works on brass as it is a soft metal.
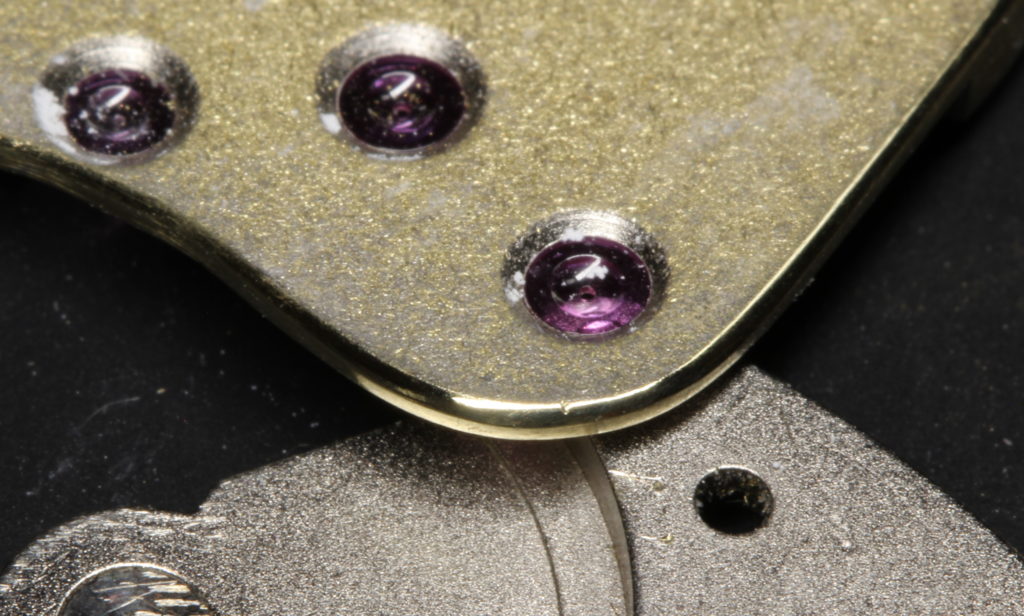
After the files, I move to sanding/lapping paper. Until now, I have simply done it by hand, but it would probably be better to stick the lapping paper on a flat piece of peg wood to avoid softening the angles as the paper tends to wrap around the surface when holding the paper only with your fingers.
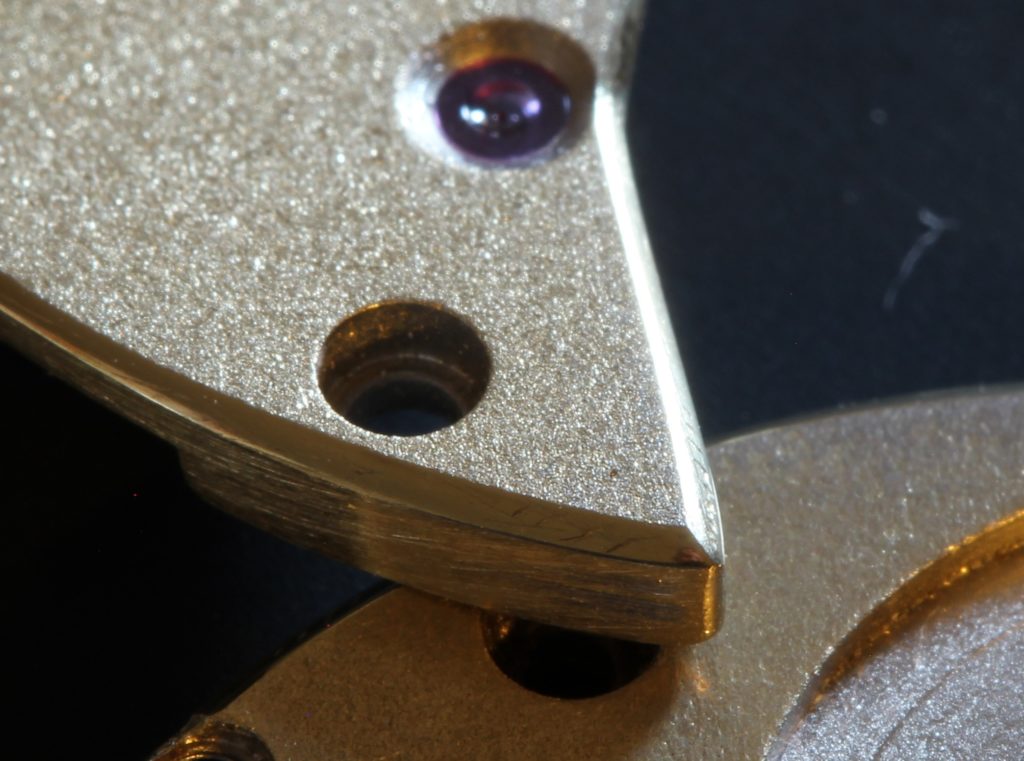
I usually go through the following grits: 600, 1600, 4500, 6000, 8000. 8000 corresponds to roughly 1 micron.
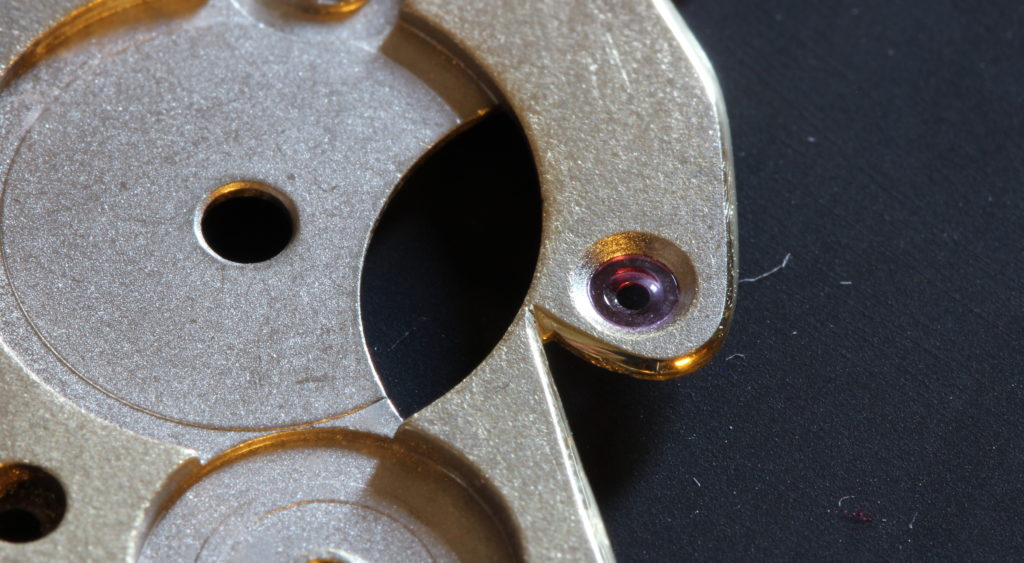
I then finish with a piece of peg wood whose tip I shape with a knife and on which I apply some diamond powder (dip the tip in water or on the tongue to get the powder to stick).
For small objects that cannot be held firmly between fingers, such as hands, I make a dedicated holder (I have used CNC or 3D printing) but you can probably buy something that you can hold in a hand vice and on which you can stick the hand with the edge you want to bevel at the edge of the item it is stuck on.
